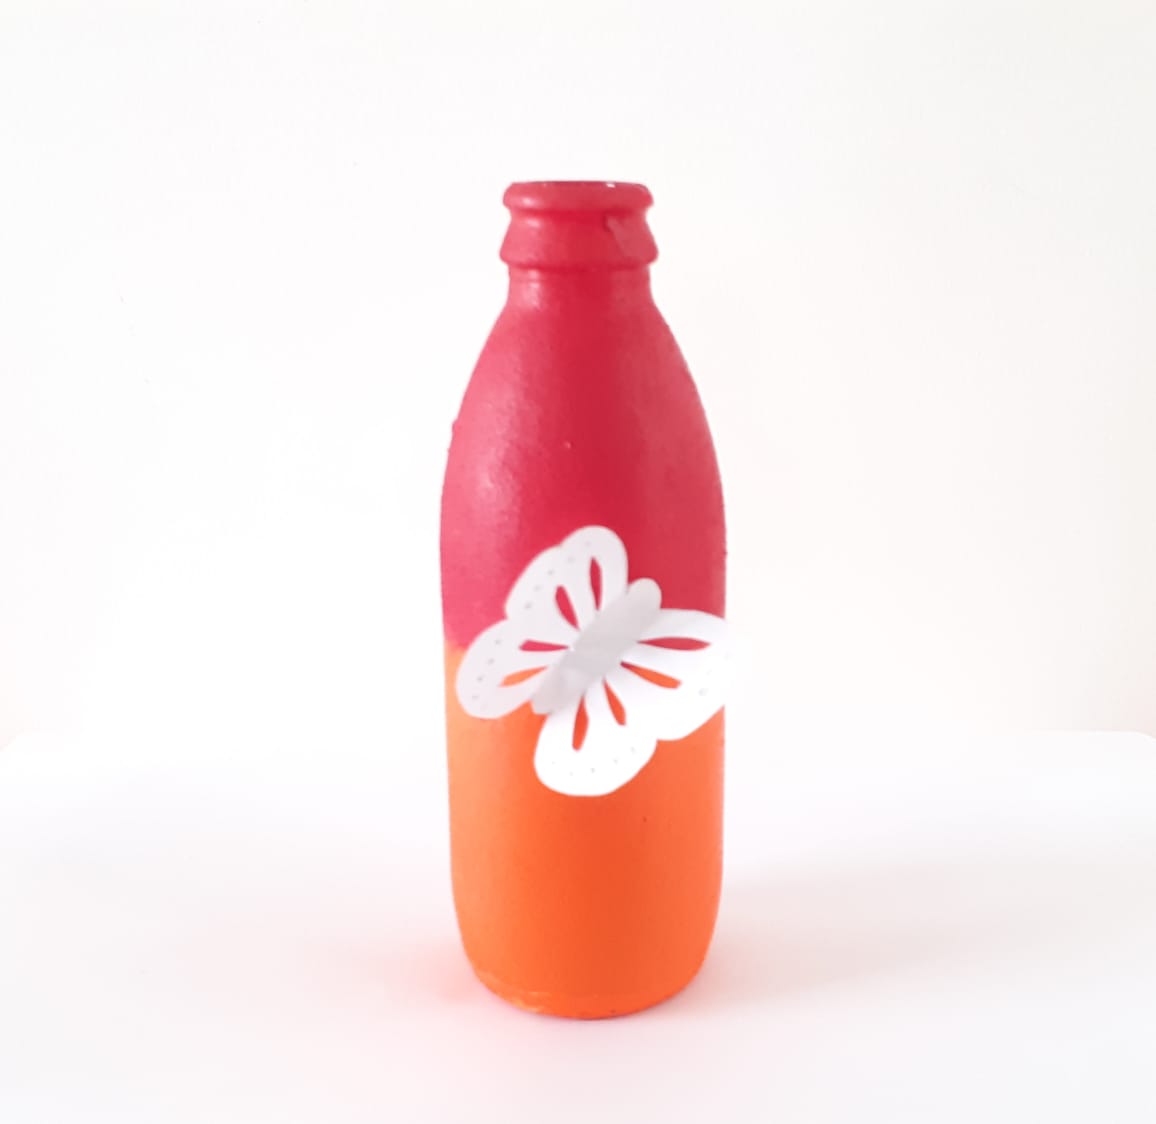
We have met some of the tools for doing bottle art in ‘bottle art for beginners part 1’ now here are the remaining tools.
4) Varnish – Varnish is applied to protect the paint on the bottle from scratches. Varnish is not necessary but it is good if you apply it. Varnish is to be applied with a brush.
5) Masking Tape – Masking tape is good for some painting techniques on bottle as it gives a perfect edge. Let’s try doing a simple bottle art with masking tape –
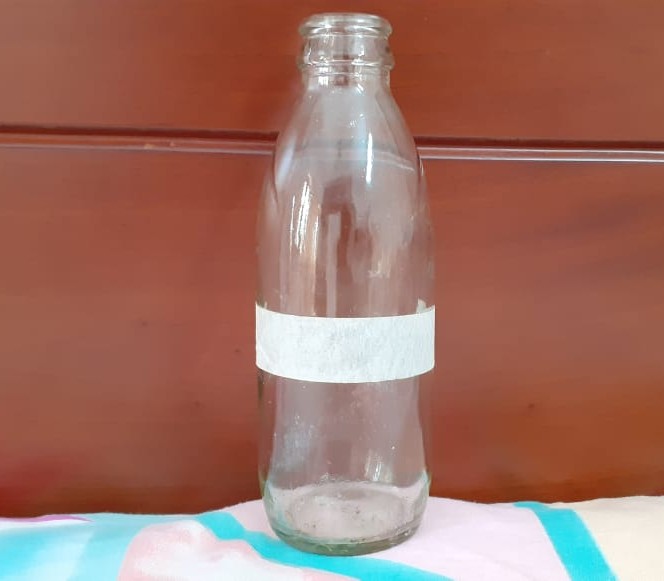
Step 1 – First to start painting the top portion stick the masking tape a little below from the middle so that you get an equal amount of space as shown in the picture below. Or you could cut your masking tape into a thin strip and stick it right in the middle.
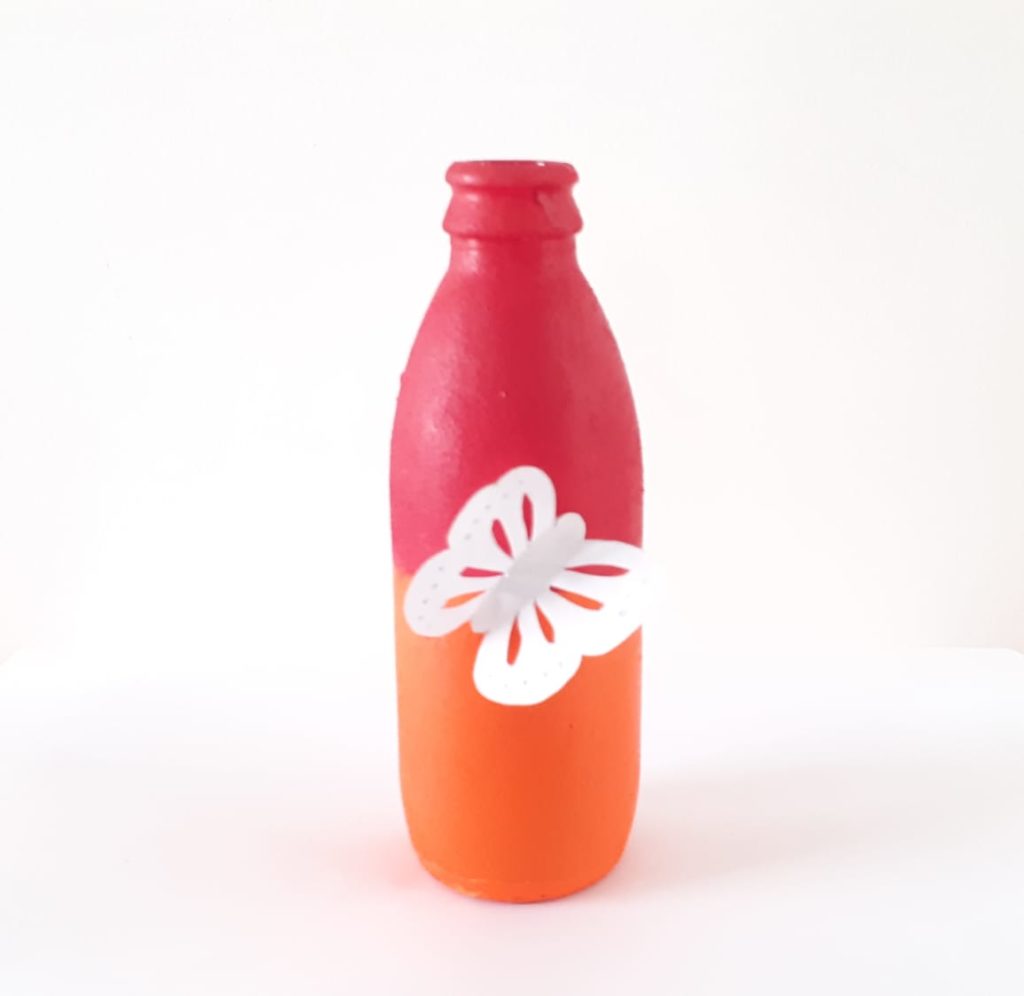
Step 2 – After sticking the masking tape start painting the top portion with red colour using a sponge.
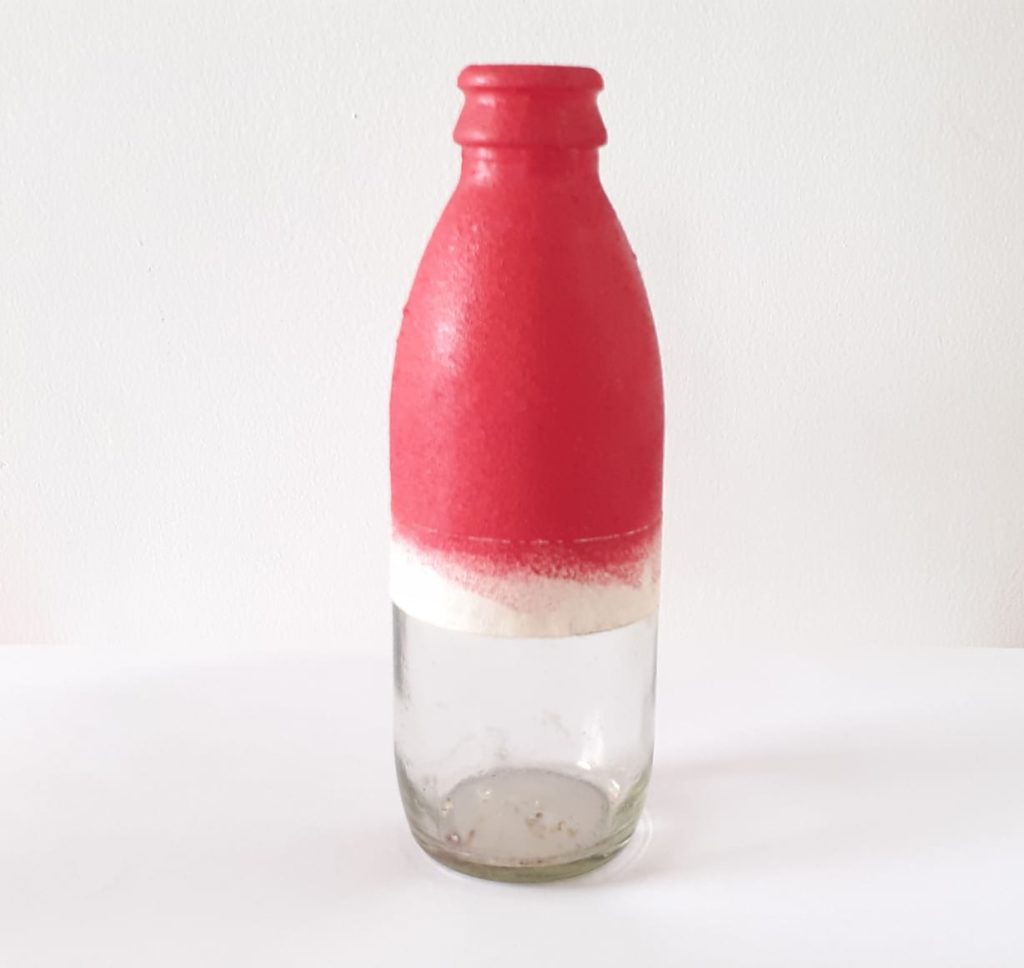
Step 3 – After you paint the upper part let it dry. Once it’s dry remove the masking tape and you will get a really nice edge.

Step 4 – Now paint the bottom half orange colour with care.
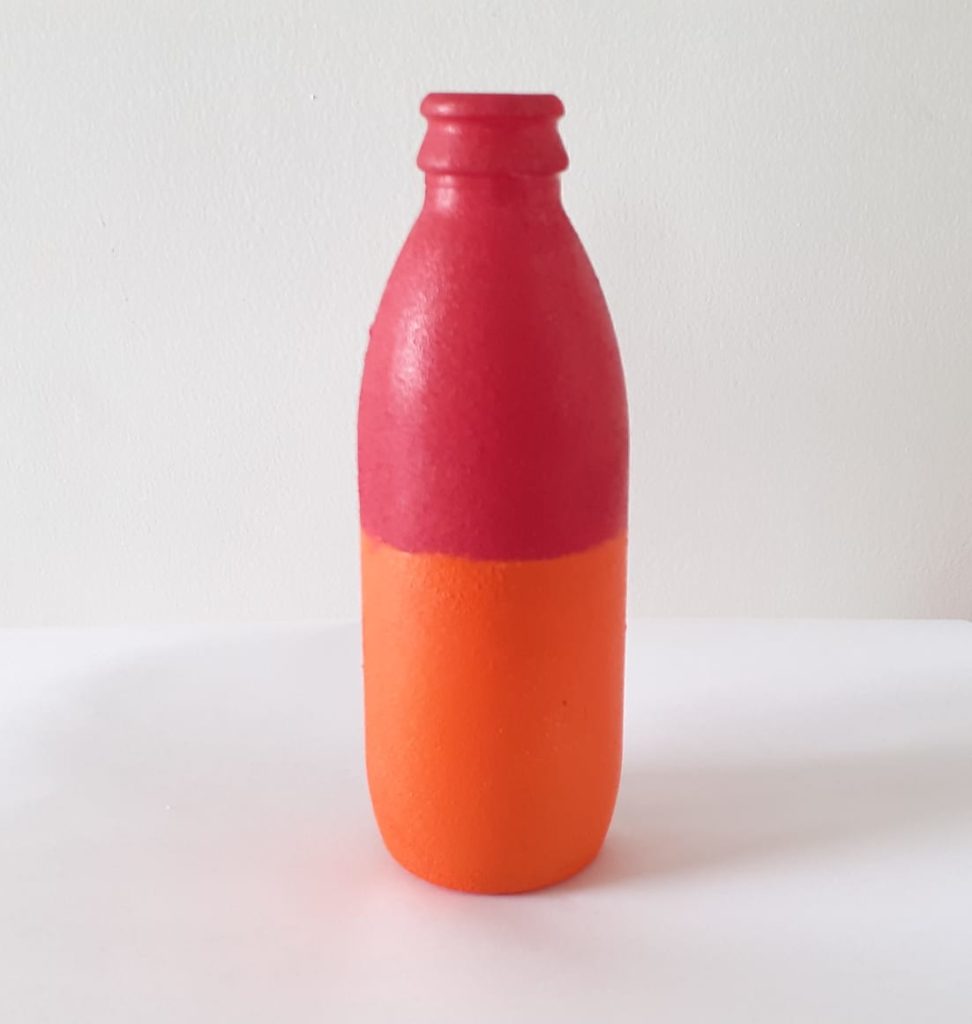
Step 5 – Now decorate your bottle art with designs and make it attractive. You could also use cut outs. And finally your bottle art is ready 🙂
I hope you liked this blog. I will be uploading some bottle art ideas shortly. Have fun!

