
I got inspired for doing bottle art by watching YouTube videos when I was in fourth grade. Doing bottle art is fun but it also takes practice and patience too.
Some of the basic tools you will need to make every bottle art are –
1) Acrylic paint – Acrylic paint is important for doing bottle art but you could use poster paint instead, However note that poster paint is not water proof. Whereas, acrylic paint is used for craft projects making it waterproof. So i would recommend to use acrylic paint for doing bottle art.
2) Paint brush – there are two types of brush sets. Wide brushes which helps to fill a large area with paint. And round paint brushes for small details. For both the paint brushes the sizes are from 20/0 to 30 (smallest to largest). For intricate details it is recommended to use small, round paint brushes.
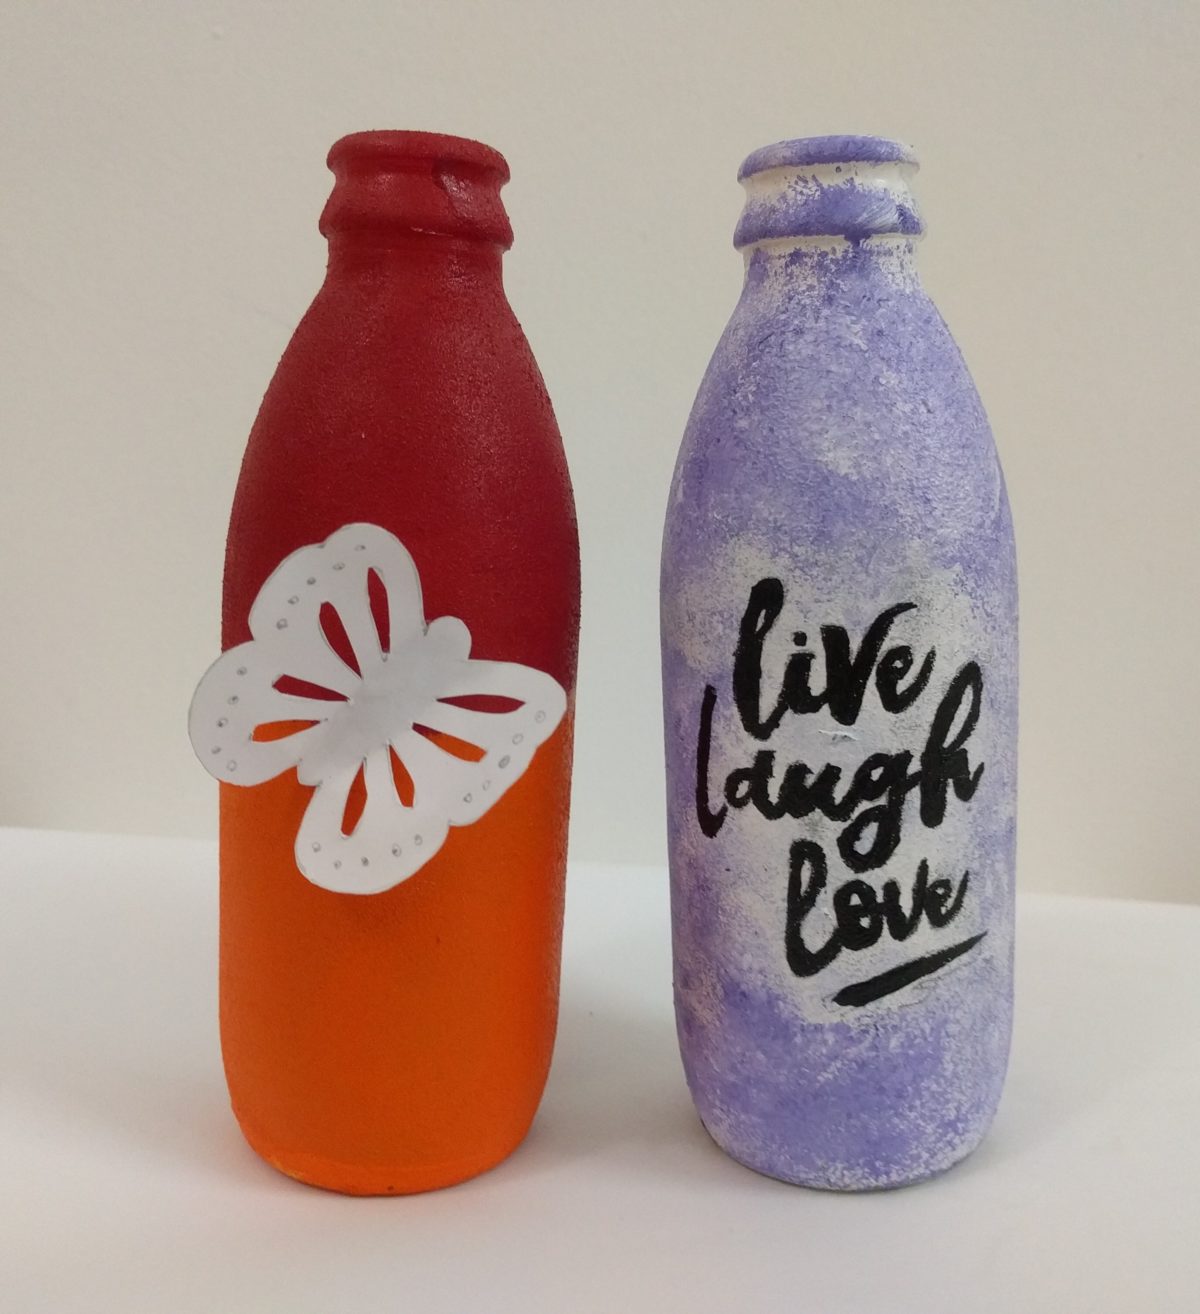
3) Sponge – Sponge is used to paint glass bottles instead of using paint brushes. This is mainly because paint brushes allow brush strokes to be imprinted on the bottle. Sponge is used to dab the paint onto the bottle surface. After painting a glass bottle with sponge the painted surface will be rough. Sponge is also good for blending colors together by overlapping the paint when it is still wet.
Example – if you want to blend white and violet paint:
Step 1 – Paint the whole bottle white by dabbing white acrylic paint with a sponge.

Step 2 – Then before the white paint dries of dab some violet paint on the bottle but make sure to leave some white paint seen. And as the white paint is not dry some paint will get absorbed by the sponge. When this happens the white paint mixes with the violet in the sponge and creates a lighter shade of violet. Repeat this process till your sponge is having lighter shades of violet and no white seen in it. Then again dip your sponge in violet and this time dip half of the sponge in white and press it on the bottle and continue.
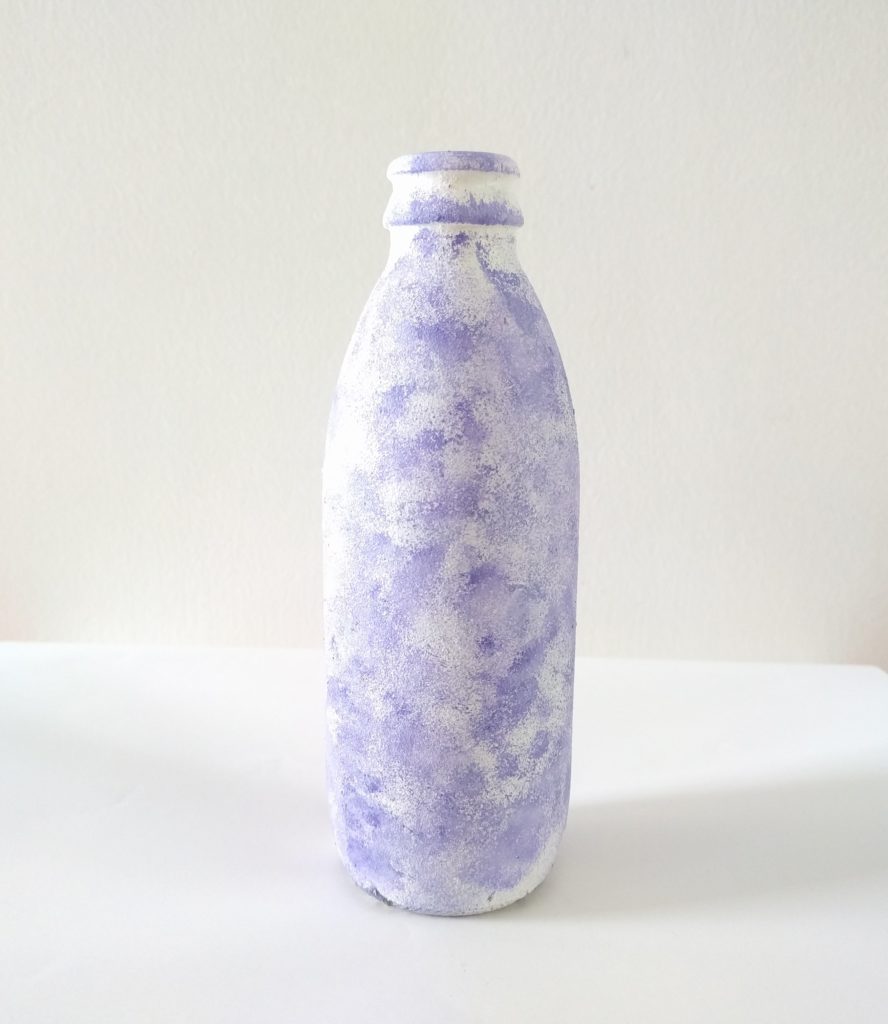
The blending will work best with white and a different colour. You could also use different colours instead of white but sometimes the both colours get mixed and makes a new colour instead a a lighter gradient as it does with white. Example – if you blend red and yellow you will get an orange shade.
Step 3 – Now make your bottle attractive by doing designs or painting some text. To easily write on glass bottle you could take a drawing/text and trace it on a tracing paper.

After tracing your text turn the tracing paper upside down and using a black colour pencil to scribble over the paper.

Then take your bottle and place the tracing paper over it. Make sure that the text is in the place where you want it to be and with a sharp pencil start tracing over the outline of the text in the tracing paper.
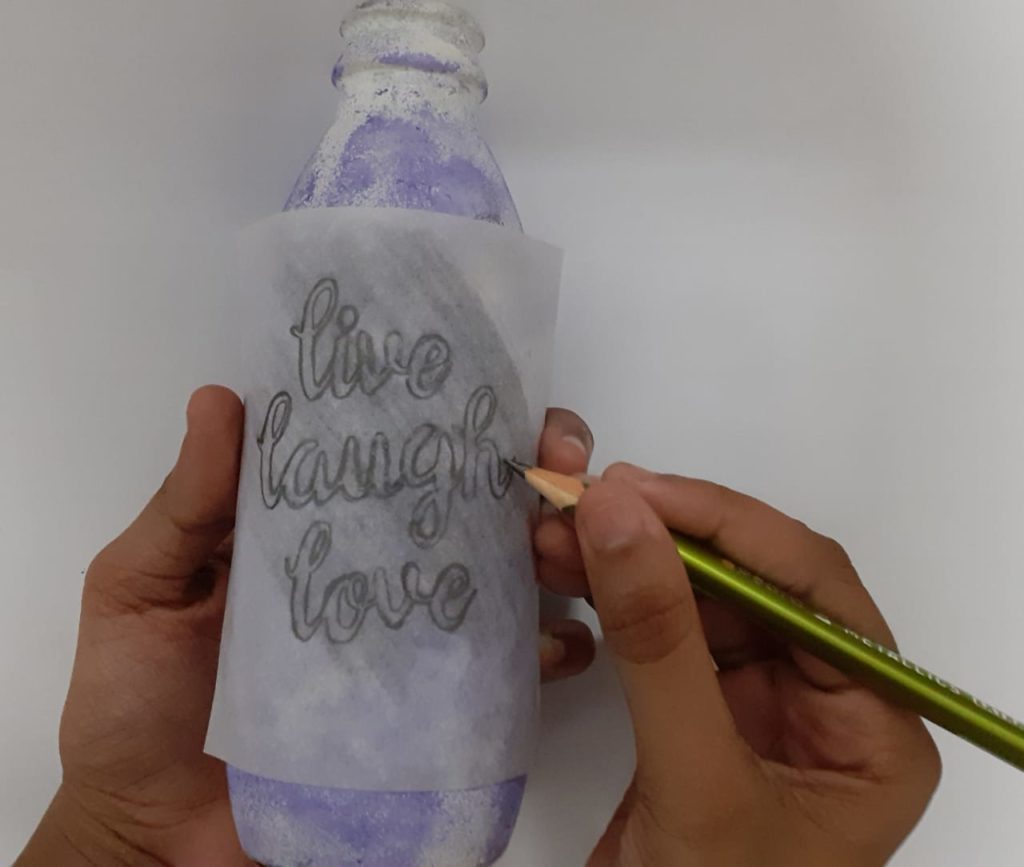
After your done remove the tracing paper and you will see that the text can be seen on the bottle. Then by using a round brush (size 0) carefully trace the outline with black acrylic paint and then fill the inside black with a round brush (size 2). And your bottle art is ready!

I hope you enjoyed reading this blog. I would be uploading my next blog about some more tools which are used to do bottle art so stay tuned 🙂