

Ever imagined of using a toothbrush for doing bottle art?
Things you will need are –
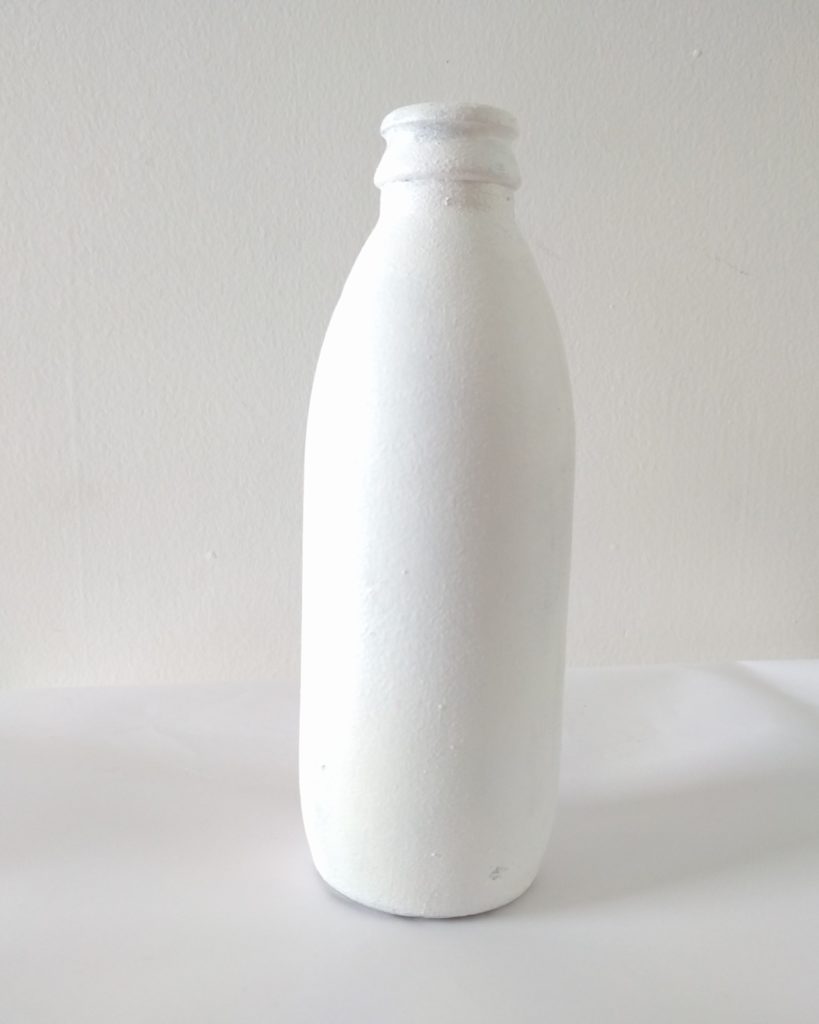
1)Glass bottle
2)Yellow, orange, red, pink, green, blue, black and white acrylic paints
3)Round paint brush (0)
4)Sponge
5)Toothbrush/wide paint brush
6)Ear buds
Step 1 – Take a glass bottle and paint it white using a sponge.
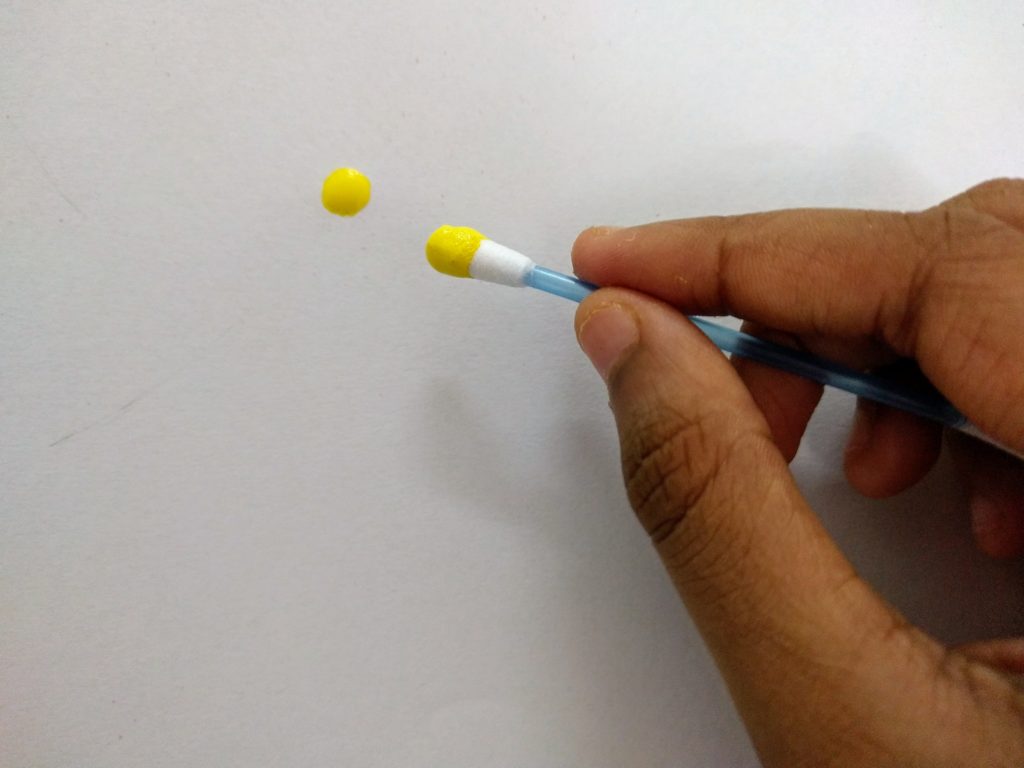
Step 2 – Dip one side of a ear bud in yellow acrylic paint and print it on the bottle.
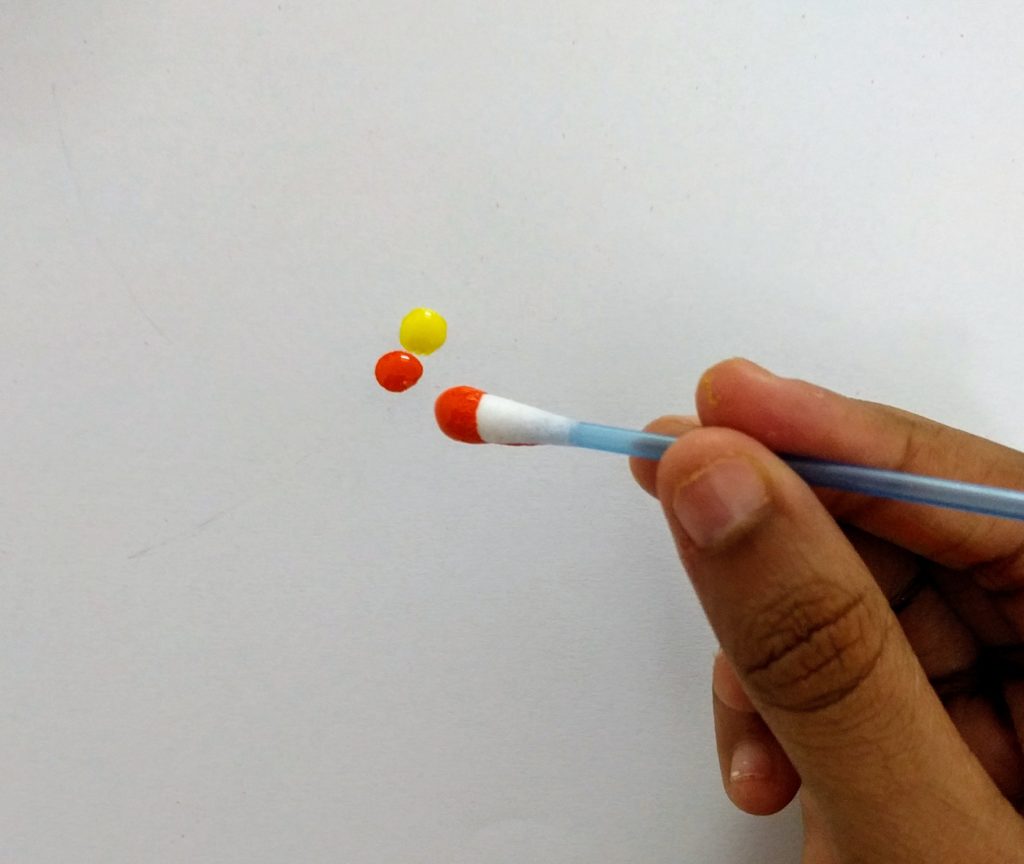
Then dip the other side of the bud in orange paint and print it below the yellow dot as shown in the picture.
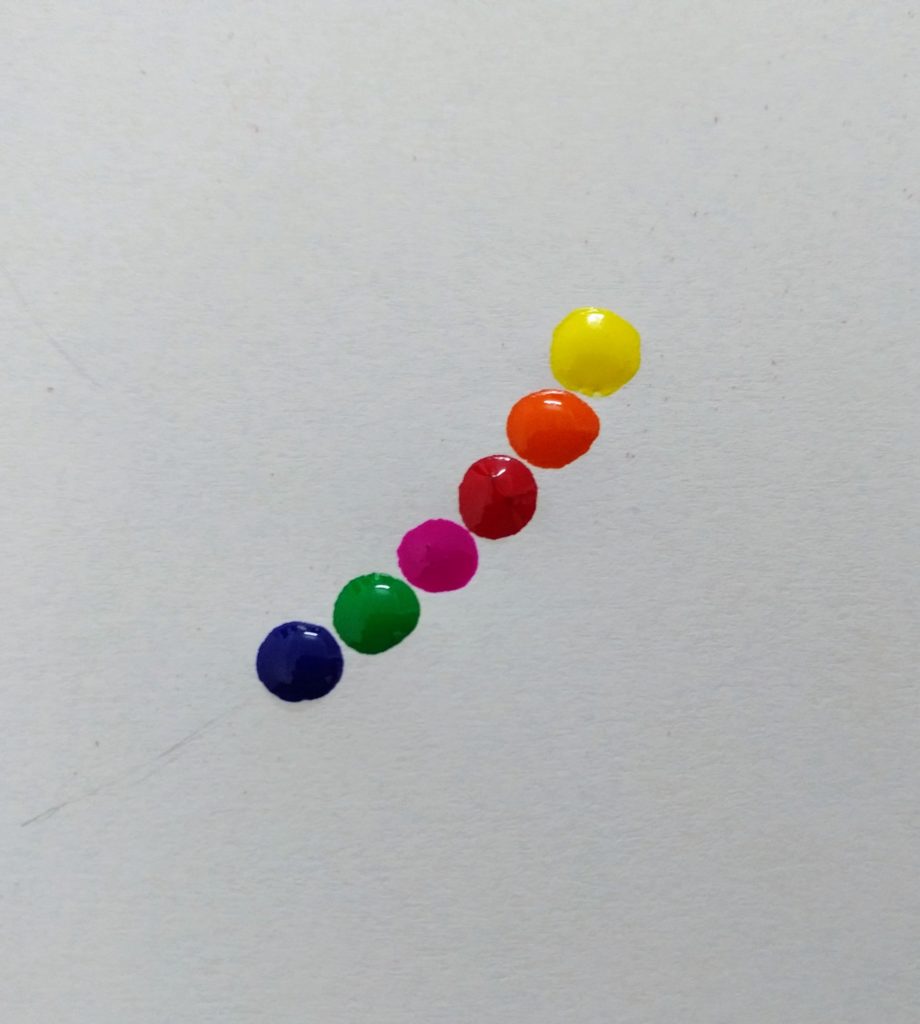
Like that continue printing dots of different colours and finally you will have chain of dots in colours of yellow, orange,red,pink,green and blue.
Step 3 – Then using a wide paint brush/toothbrush spread the blue paint to both sides. Repeat spreading the different colours of paint and when you spread the yellow paint make sure to add a little peak on top.
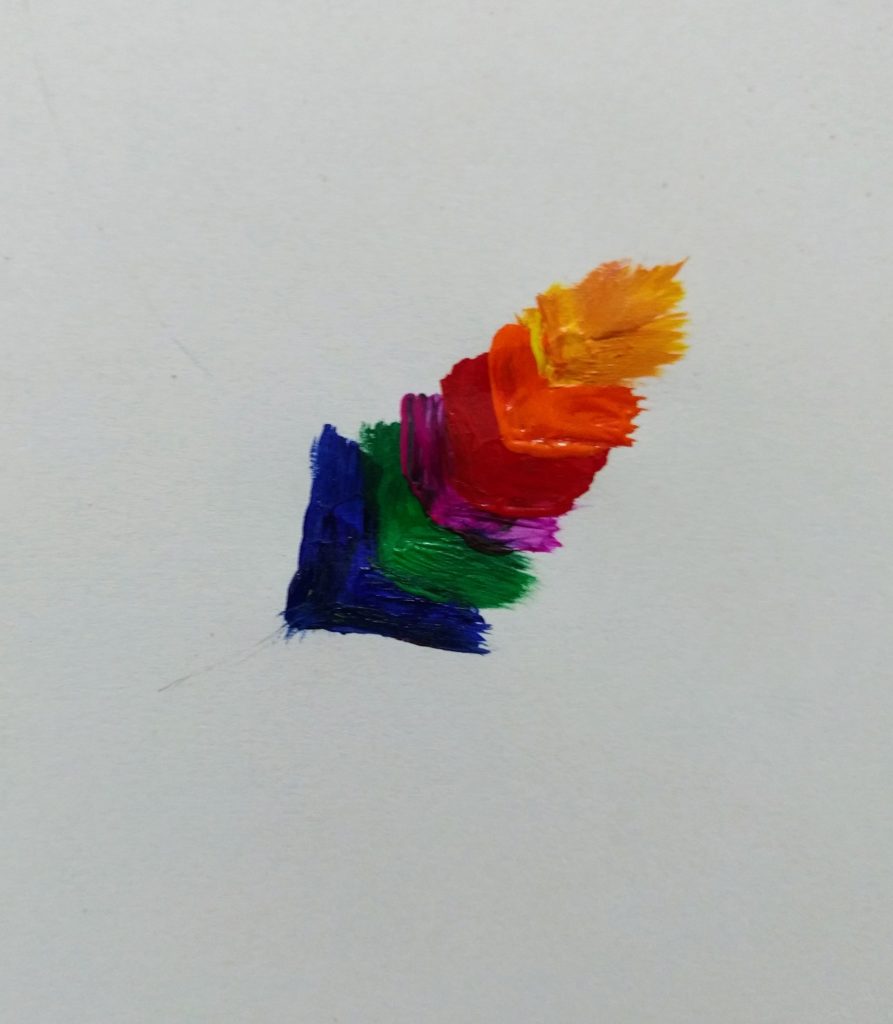
Step 4 – Then using black acrylic paint draw a line in the middle as a stem for your feather.

Step 4 – Now paint the top of the bottle with red paint and if you like you could paint another feather too.
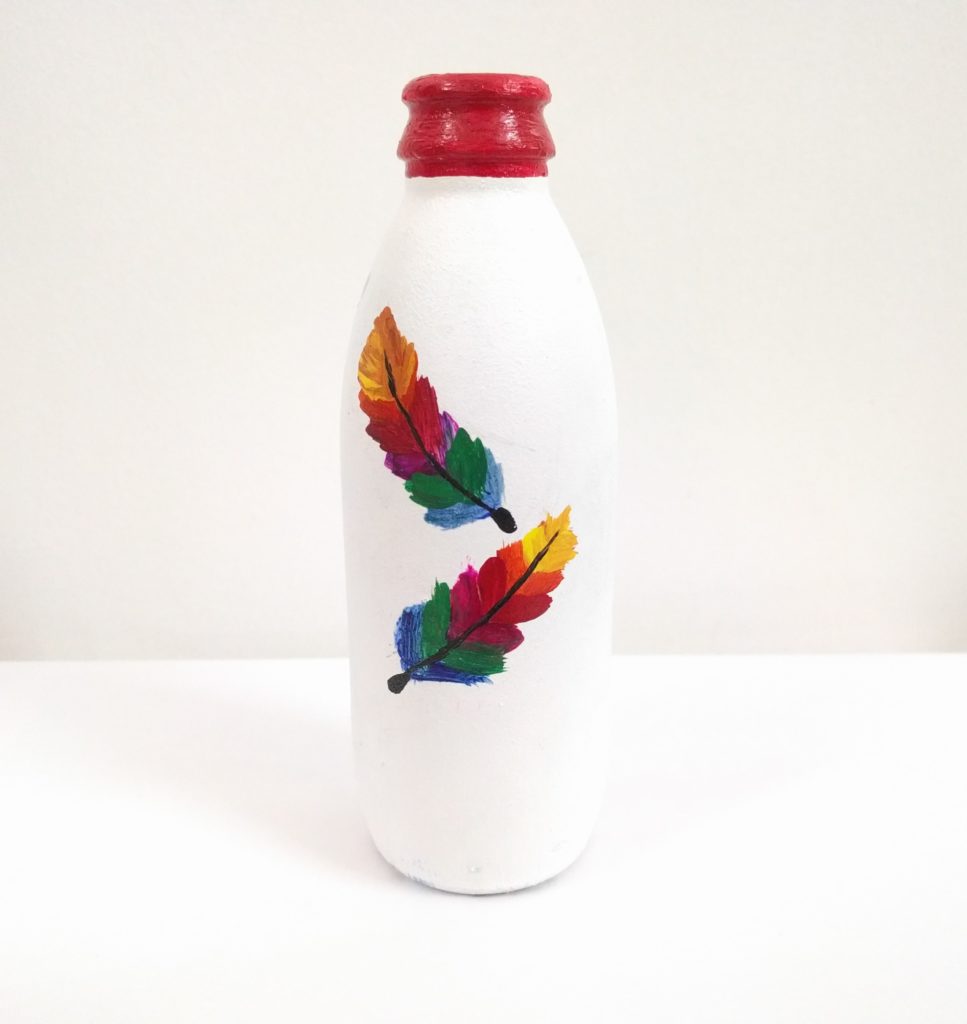
And now your feather bottle art is ready! Stay tuned for more ideas 🙂
2 replies on “Feather design bottle art”
Superb Ahla! 😊😊😊
Thanks! 😊